 Water damage in your house is no trifling matter. A reliable water damage service in Lake Forest, CA, needs to address it as soon as possible to prevent serious damage to various areas of your home.
While water can harm a wide variety of surfaces, your biggest concern may be the ceiling. After all, the last thing you want to see is discoloration or more severe damage to your ceiling. It compromises the aesthetics of your household and makes it less safe.
Hiring the experts is your best bet when tackling a water-damaged ceiling, but knowing what this process entails may come in handy. This article will tell you what it involves – keep reading!
How do you repair a water-damaged ceiling?
Although it’s highly destructive, there are ways to mitigate water damage. The key is to recognize it early on to alleviate the potential consequences and prevent it from causing further harm.
When it comes to ceiling water damage, your first reaction should be to reach out to the experts. But if you feel you’re up to the challenge, you can try fixing the area on your own. Here’s how to perform the repairs correctly:
Address the source
Tackling the water source is the first thing you should do when dealing with any type of water damage. It helps prevent further destruction to your ceiling and ensures your repairs are effective.
To identify the source, you may need to get rid of damaged drywall. This is because water spreads and the source may not be near the harmed area.
Once you’ve located the source, make any replacements or repairs to stop it.
Dry the area
First, place a tarp to shield your furniture and floors from debris and water. Next, gather fans, towels, and any other materials you’ll use to dry your ceiling. Make sure to address the sections above and below your ceiling to take care of the moisture appropriately.
If the water keeps dripping, it’s too saturated and needs more drying. You may need to remove several sections to facilitate this.
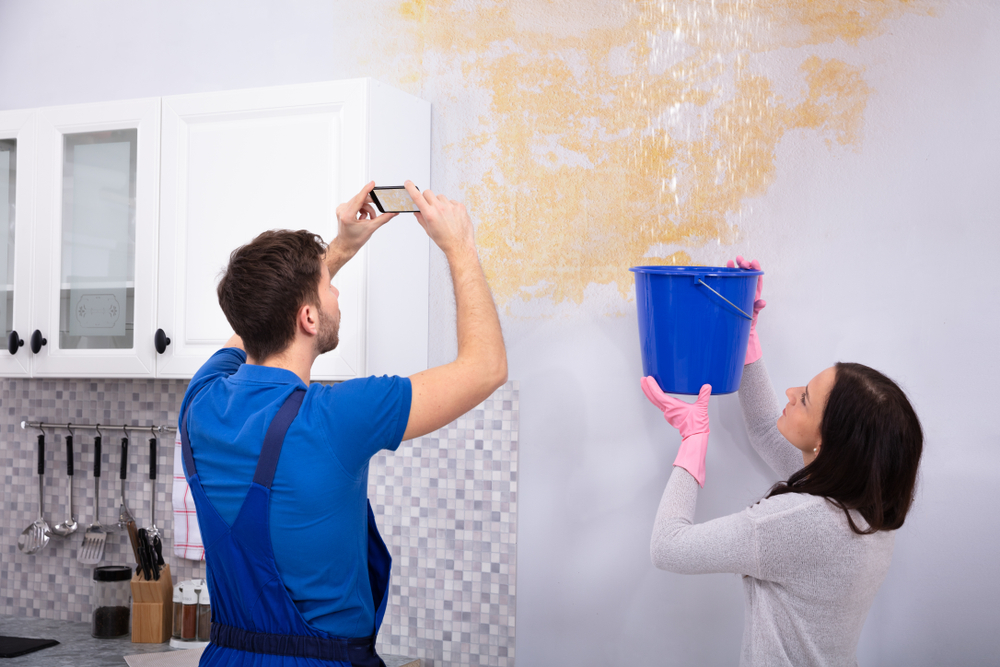
For instance, if your drywall is bulging, poke a hole through it to release water. Then, let the water drip into a bucket until there’s nothing left.
Remove damaged parts
If your ceiling is bulging or peeling, scrape those damaged sections off. Other areas (e.g., stained and discolored surfaces) should also be removed.
If your drywall is stained but is free from structural damage, you may be able to salvage it. Cut out the affected sections only and replace them with new ones.
Repair the ceiling
Use sandpaper to smooth down rough areas, ridges, and bumps. Fill holes with some joint compound and allow it to dry. Afterward, use some more sandpaper to apply the finishing touch.
Regarding areas where you’ve cut the drywall out, you’ll first need to measure the holes. Cut a fresh piece to fill each area, making sure it’s two inches longer and wider. If necessary, size down the new sections with your utility knife.
Let the adhesive dry and apply joint compound. Wrap it up by smoothing down the drywall with sandpaper.
 Looking for a top-rated water damage service in Lake Forest, CA? You’ve just found it!
Regardless of your skill level, fixing water damage in your house by yourself is extremely risky. A lot can go wrong and bring about even more damage, postponing your visit to Heritage Hill Historical Park even further.
To prevent this scenario, contact EHS – the most renowned water-damage repair company in your area. We offer comprehensive repair services and a quick response to help restore your home to its former condition as soon as possible.
Give us a call at any time of the day, and our trained contractors will arrive at your doorstep in record time. We won’t let you down!